
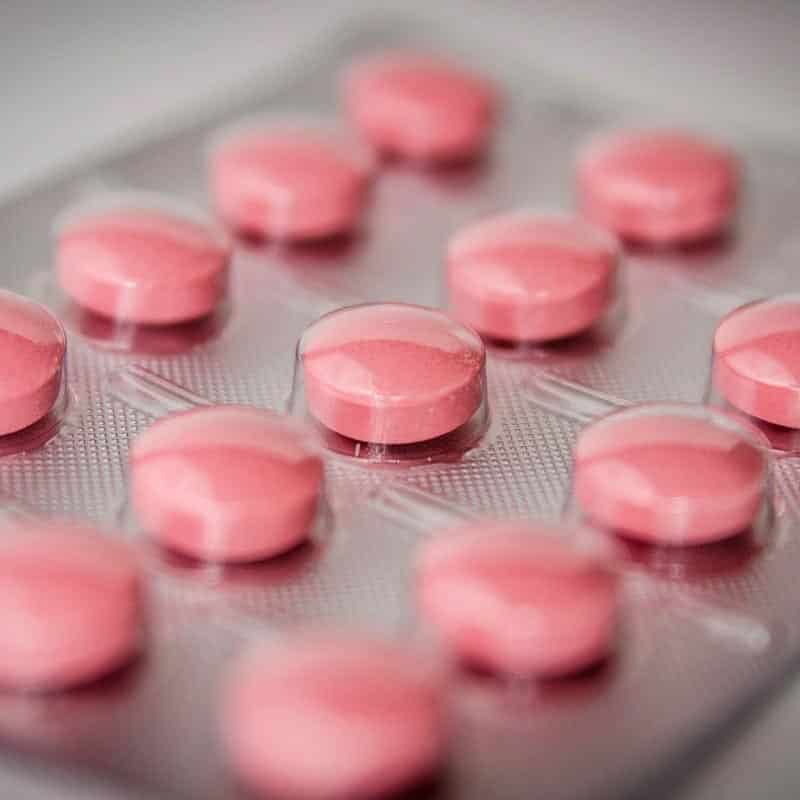
About the medication in assisted reproduction
The medication in an assisted reproduction treatment is a fundamental part of its success. That’s why it’s very important that you consult us if you have any doubts about it. On this page we will answer the most frequent questions that you may have concerning medication in assisted reproduction.
The self-administration of the medicine used in an assisted reproduction treatment is a very simple process which you can perform at home by yourself or with the help of your partner or a family member.
Medication at home: easy and convenient
Nowadays, the majority of the medication for assisted reproduction is administered subcutaneously and this can therefore be done by the patients themselves, by their partner or by a family member, very simply in their own home.
One of our nurses will show you how to correctly prepare and administer the medication for your assisted reproduction treatment and they will allay all your doubts in the clinic. After that, you can continue your treatment at home or, if you prefer, you can continue coming to the clinic so that we can administer it for you.
Remember that you can also call us at any time if you need any questions answered or you can visit our website and watch our instructional videos on administering the various medicines.
Administering your medication, step by step
- It is important that you first carefully wash your hands and then prepare all the materials you are going to need: gauze or cotton swabs, the medication, and 96% alcohol.
- Remember to remove the medication from the fridge – if it needs to be kept cold – five minutes beforehand.
- We recommend administering all medication at approximately the same time every day: between 20:00 and 22:00.
- Keep your Ginefiv treatment plan handy and prepare the medications for your assisted reproduction treatment following the instructions for each one. In the clinic, your nurse will have explained to you how to prepare the mixes for each medicine. You can also watch the videos on this page. Or you can call the Patient Care Service to resolve any doubts that may arise.
- To administer the medication, select the injection site on one side of your abdomen, measuring a distance of equal or more than three fingers’ width from your navel.
- Take a pinch of skin and insert the needle at an angle of approximately 45º.
- Inject the medication, remove the needle and release the pinch of skin.
- Press the site lightly with an alcohol-moistened cotton swab.
Some useful tips
Bear in mind that when administering the medication, it is normal for there to be a small amount of bleeding, bruising or a localised reaction.
Try to vary the injection site to avoid these discomforts and to help the medication to be absorbed correctly.
Remember that the times and guidelines for medication are unique to every patient, based on their treatment, diagnosis, type of ovarian response, etc. and that the frequency and amounts may vary as the stimulation progresses and more ultrasound checks are performed.
Our Patient Care Service can see you from Monday to Friday from 9.00 to 21.00 with no appointment, in person, by phone or by email at any point of your treatment. How to administer each of the medicines in an assisted reproduction treatment
If we have prescribed any of the medicines below for your assisted reproduction treatment, it is important that you know how to use them. We will explain below:
Do you have questions?
Call us free
900 908 988
Visit us in our Ginefiv clinics
Ask for an appointment with Ginefiv
How to administer your medication: OVITRELLE
This video shows you, quickly and simply, how to prepare and administer
OVITRELLE
It is important that you wash your hands carefully before beginning preparations and that you remove the medication from the fridge about 5 minutes before administering it.
• Remove the protective cap from the pen.
• Load the pen with the required dose of medication, in this case it is the entire vial.
• Screw the needle onto the pen and remove its protective cap.
• Perform the injection in your abdomen, at about 3 fingers to the right or left of your belly button.
• Once the injection is complete, carefully replace the cap on the needle and bring all used needles back to the clinic so that they can be deposited in special containers.
How to administer your medication: MENOPUR
This video shows you, quickly and simply, how to prepare and administer
MENOPUR.
It is important that you wash your hands carefully before beginning preparations and that you remove the medication from the fridge about 5 minutes before administering it.
• Connect the intramuscular needle to the syringe and remove the cap.
• Open the ampoule of solvent water, gripping it with a cotton swab and snapping off the top at the indicated point.
• Load the solvent into the syringe.
• Open the vial of powder and inject the liquid from the syringe into it.
• Draw up all the mixture into the syringe.
• Remove any air by slowly pushing up the plunger.
• Replace the cap on the large needle and remove it.
• Replace the needle with the smaller subcutaneous needle.
• Perform the injection in your abdomen, at about 3 fingers to the right or left of your belly button.
• Once the injection is complete, carefully replace the cap on the needle and bring all used needles back to the clinic so that they can be deposited in special containers
How to administer your medication: MENOPUR 1200
This video shows you, quickly and simply, how to prepare and administer
MENOPUR 1200.
It is important that you wash your hands carefully before beginning preparations and that you remove the medication from the fridge about 5 minutes before administering it.
• Unseal the needle and connect it to one of the preloaded syringes.
• Remove the seal from the vial and slowly inject the liquid into it.
• Disconnect the needle from the syringe, leaving the needle in the vial.
• Connect the second syringe and slowly inject the liquid into the vial.
• Once the vial of Menopur 1200 has been reconstituted, you will have enough medicine for various doses.
• Each day, load one of the sterile needles with the dose indicated by your specialist.
• Perform the injection in your abdomen, at about 3 fingers to the right or left of your belly button.
• Once the injection is complete, carefully replace the cap on the needle and bring all used needles back to the clinic so that they can be deposited in special containers
How to administer your medication: DECAPEPTYL
This video shows you, quickly and simply, how to prepare and administer DECAPEPTYL to induce ovulation.
How to administer your medication: ORGALUTRAN
This video shows you, quickly and simply, how to prepare and administer
ORGALUTRAN.
It is important that you wash your hands carefully before beginning preparations and
that you remove the medication from the fridge about 5 minutes before administering
it.
• Remove the rubber stopper and remove any air from the syringe by gently tapping it and slowly pushing up the plunger.
• Perform the injection in your abdomen, at about 3 fingers to the right or left of your belly button.
• Once the injection is complete, carefully replace the cap on the needle and bring all used needles back to the clinic so that they can be deposited in special containers
How to administer your medication: GONAL 1050
This video shows you, quickly and simply, how to prepare and administer GONAL 1050.
It is important that you wash your hands carefully before beginning preparations and that you remove the medication from the fridge about 5 minutes before administering it.
• Remove the top from the vial of powder.
• Carefully take the cap off the syringe.
• Pierce the centre of the vial and slowly inject the liquid into it.
• Once the GONAL 1050 has been reconstituted, it will be ready for the daily administration of the prescribed dose, using the disposable syringes.
• Perform the injection in your abdomen, at about 3 fingers to the right or left of your belly button.
• Once the injection is complete, carefully replace the cap on the needle and bring all used needles back to the clinic so that they can be deposited in special containers
How to administer your medication: FOSTIPUR 75
This video shows you, quickly and simply, how to prepare and administer
FOSTIPUR 75.
It is important that you wash your hands carefully before beginning preparations and that you remove the medication from the fridge about 5 minutes before administering it.
• Break the cap off the ampoule of solvent water, gripping it with a cotton swab and snapping it at the indicated point.
• Connect the large needle to the syringe.
• Load the solvent water into the syringe.
• Open the vial of powder and inject the liquid from the syringe into it.
• Flip over the vial and draw all of the mix into the same syringe.
• Purge any air from the syringe.
• Replace the cap on the large needle, remove it from the syringe and connect the subcutaneous needle.
• Perform the injection in your abdomen, at about 3 fingers to the right or left of your belly button.
• Once the injection is complete, carefully replace the cap on the needle and bring all used needles back to the clinic so that they can be deposited in special containers
How to administer your medication: ELONVA
This video shows you, quickly and simply, how to prepare and administer
ELONVA.
It is important that you wash your hands carefully before beginning preparations and that you remove the medication from the fridge about 5 minutes before administering it.
• Remove the rubber stopper and unseal the needle.
• Screw on the needle.
• There is no need to purge the bubble of air; just administer directly.
• Perform the injection in your abdomen, at about 3 fingers to the right or left of your belly button.
• Once the injection is complete, carefully replace the cap on the needle and bring all used needles back to the clinic so that they can be deposited in special containers
How to administer your medication: PERGOVERIS
This video shows you, quickly and simply, how to prepare and administer
PERGOVERIS.
It is important that you wash your hands carefully before beginning preparations and that you remove the medication from the fridge about 5 minutes before administering it.
• Connect the intramuscular needle to the syringe to prepare the solution.
• Remove the seals from both vials – the solvent and the powder.
• Load the syringe with the solvent and inject it slowly into the vial of powder.
• Gently shake the vial to help it dissolve and draw the mix back into the syringe.
• Purge any air from the syringe, disconnect the large needle and replace it with the small one to administer the medication.
• Perform the injection in your abdomen, at about 3 fingers to the right or left of your belly button.
• Once the injection is complete, carefully replace the cap on the needle and bring all used needles back to the clinic so that they can be deposited in special containers.
How to administer your medication: PUREGON 600
This video shows you, quickly and simply, how to prepare and administer
PUREGON 600.
It is important that you wash your hands carefully before beginning preparations and that you remove the medication from the fridge about 5 minutes before administering it.
• Remove the protective cap from the PUREGON pen and unscrew the two parts to separate them.
• Insert the vial in the top part, with the membrane facing up.
• Screw the parts back together and load the indicated dose.
• Screw the needle onto the pen and remove its protective cap.
• Perform the injection in your abdomen, at about 3 fingers to the right or left of your belly button.
• Once the injection is complete, carefully replace the cap on the needle and bring all used needles back to the clinic so that they can be deposited in special containers.
How to administer your medication: BEMFOLA
If we have prescribed any of this medicine for your assisted reproduction treatment, it is important that you know how to use it. We will explain below:
How to administer your medication: CETROTIDE
This video shows you, quickly and simply, how to prepare and administer
CETROTIDE.
It is important that you wash your hands carefully before beginning preparations and
that you remove the medication from the fridge about 5 minutes before administering
it.
• Remove the cap from the needle that is preloaded with water.
• Screw the larger sized needle onto the syringe.
• Remove the cap from the vial of powder and pierce the vial with the syringe, injecting in the liquid.
• Gently shake the vial to dissolve the medication.
• Tip the vial and draw all of the mix into the syringe.
• Remove any air by slowly pushing up the plunger.
• Replace the cap on the large needle and remove it.
• Replace the needle with the smaller subcutaneous needle.
• Perform the injection in your abdomen, at about 3 fingers to the right or left of your belly button.
• Once the injection is complete, carefully replace the cap on the needle and bring all used needles back to the clinic so that they can be deposited in special containers.